Showing posts with label Australasian Blog Hop. Show all posts

Sunday, September 10, 2023

The Good Life Australasian Blog Hop


Hello and welcome aboard The Good Life Australasian Close to My Heart Blog Hop. 

If you have arrived here from Scrappychicks then you are in the right place. 

If you landed here by accident, no problem, please join in by following the link at the end of this post. 

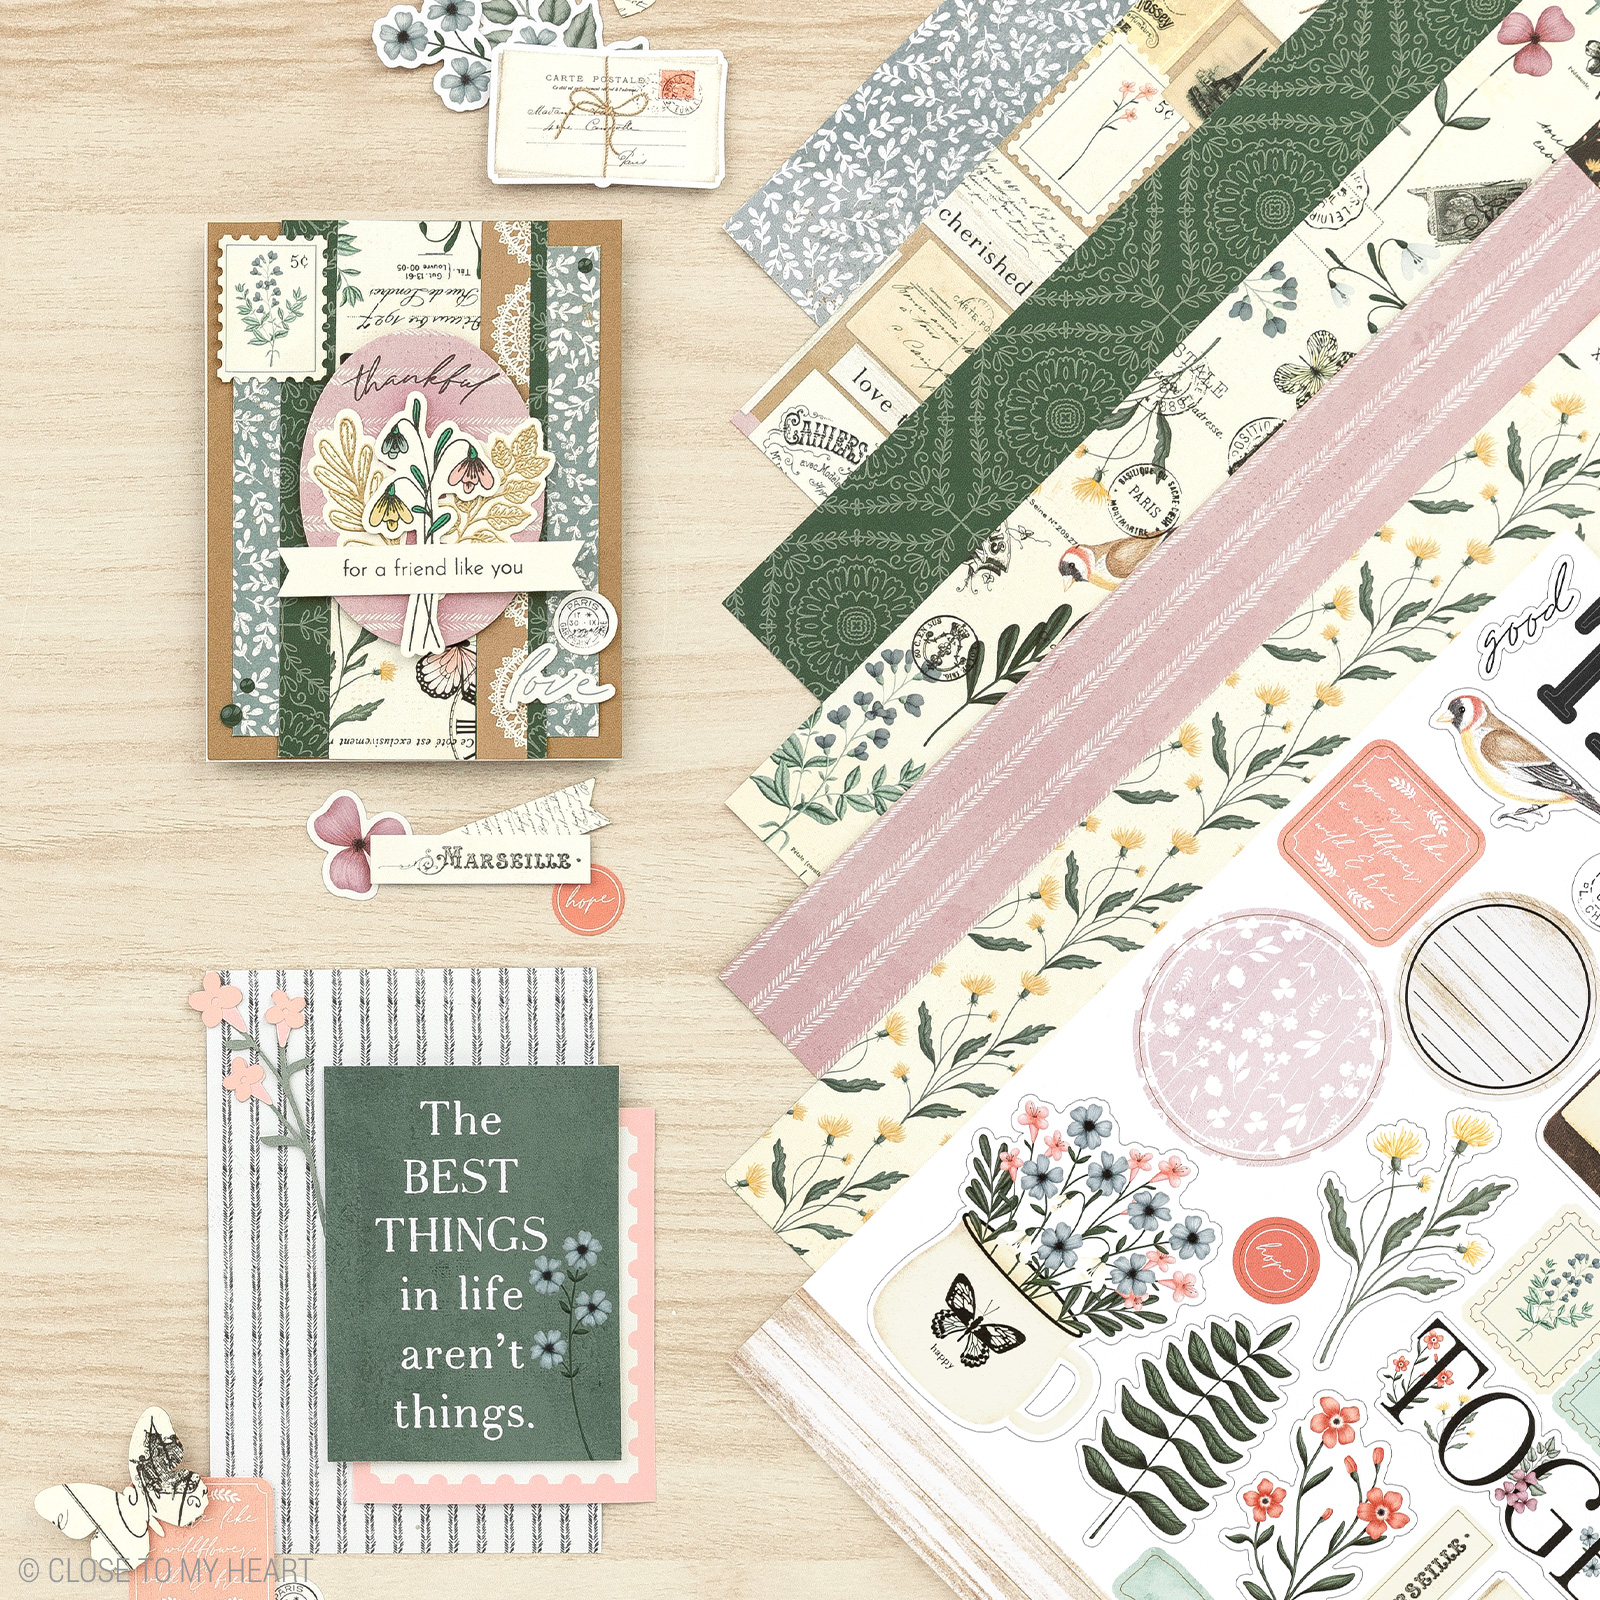
Today I would like to share with you a creation which features Close To My Heart’s September Featured collection, The Good Life.


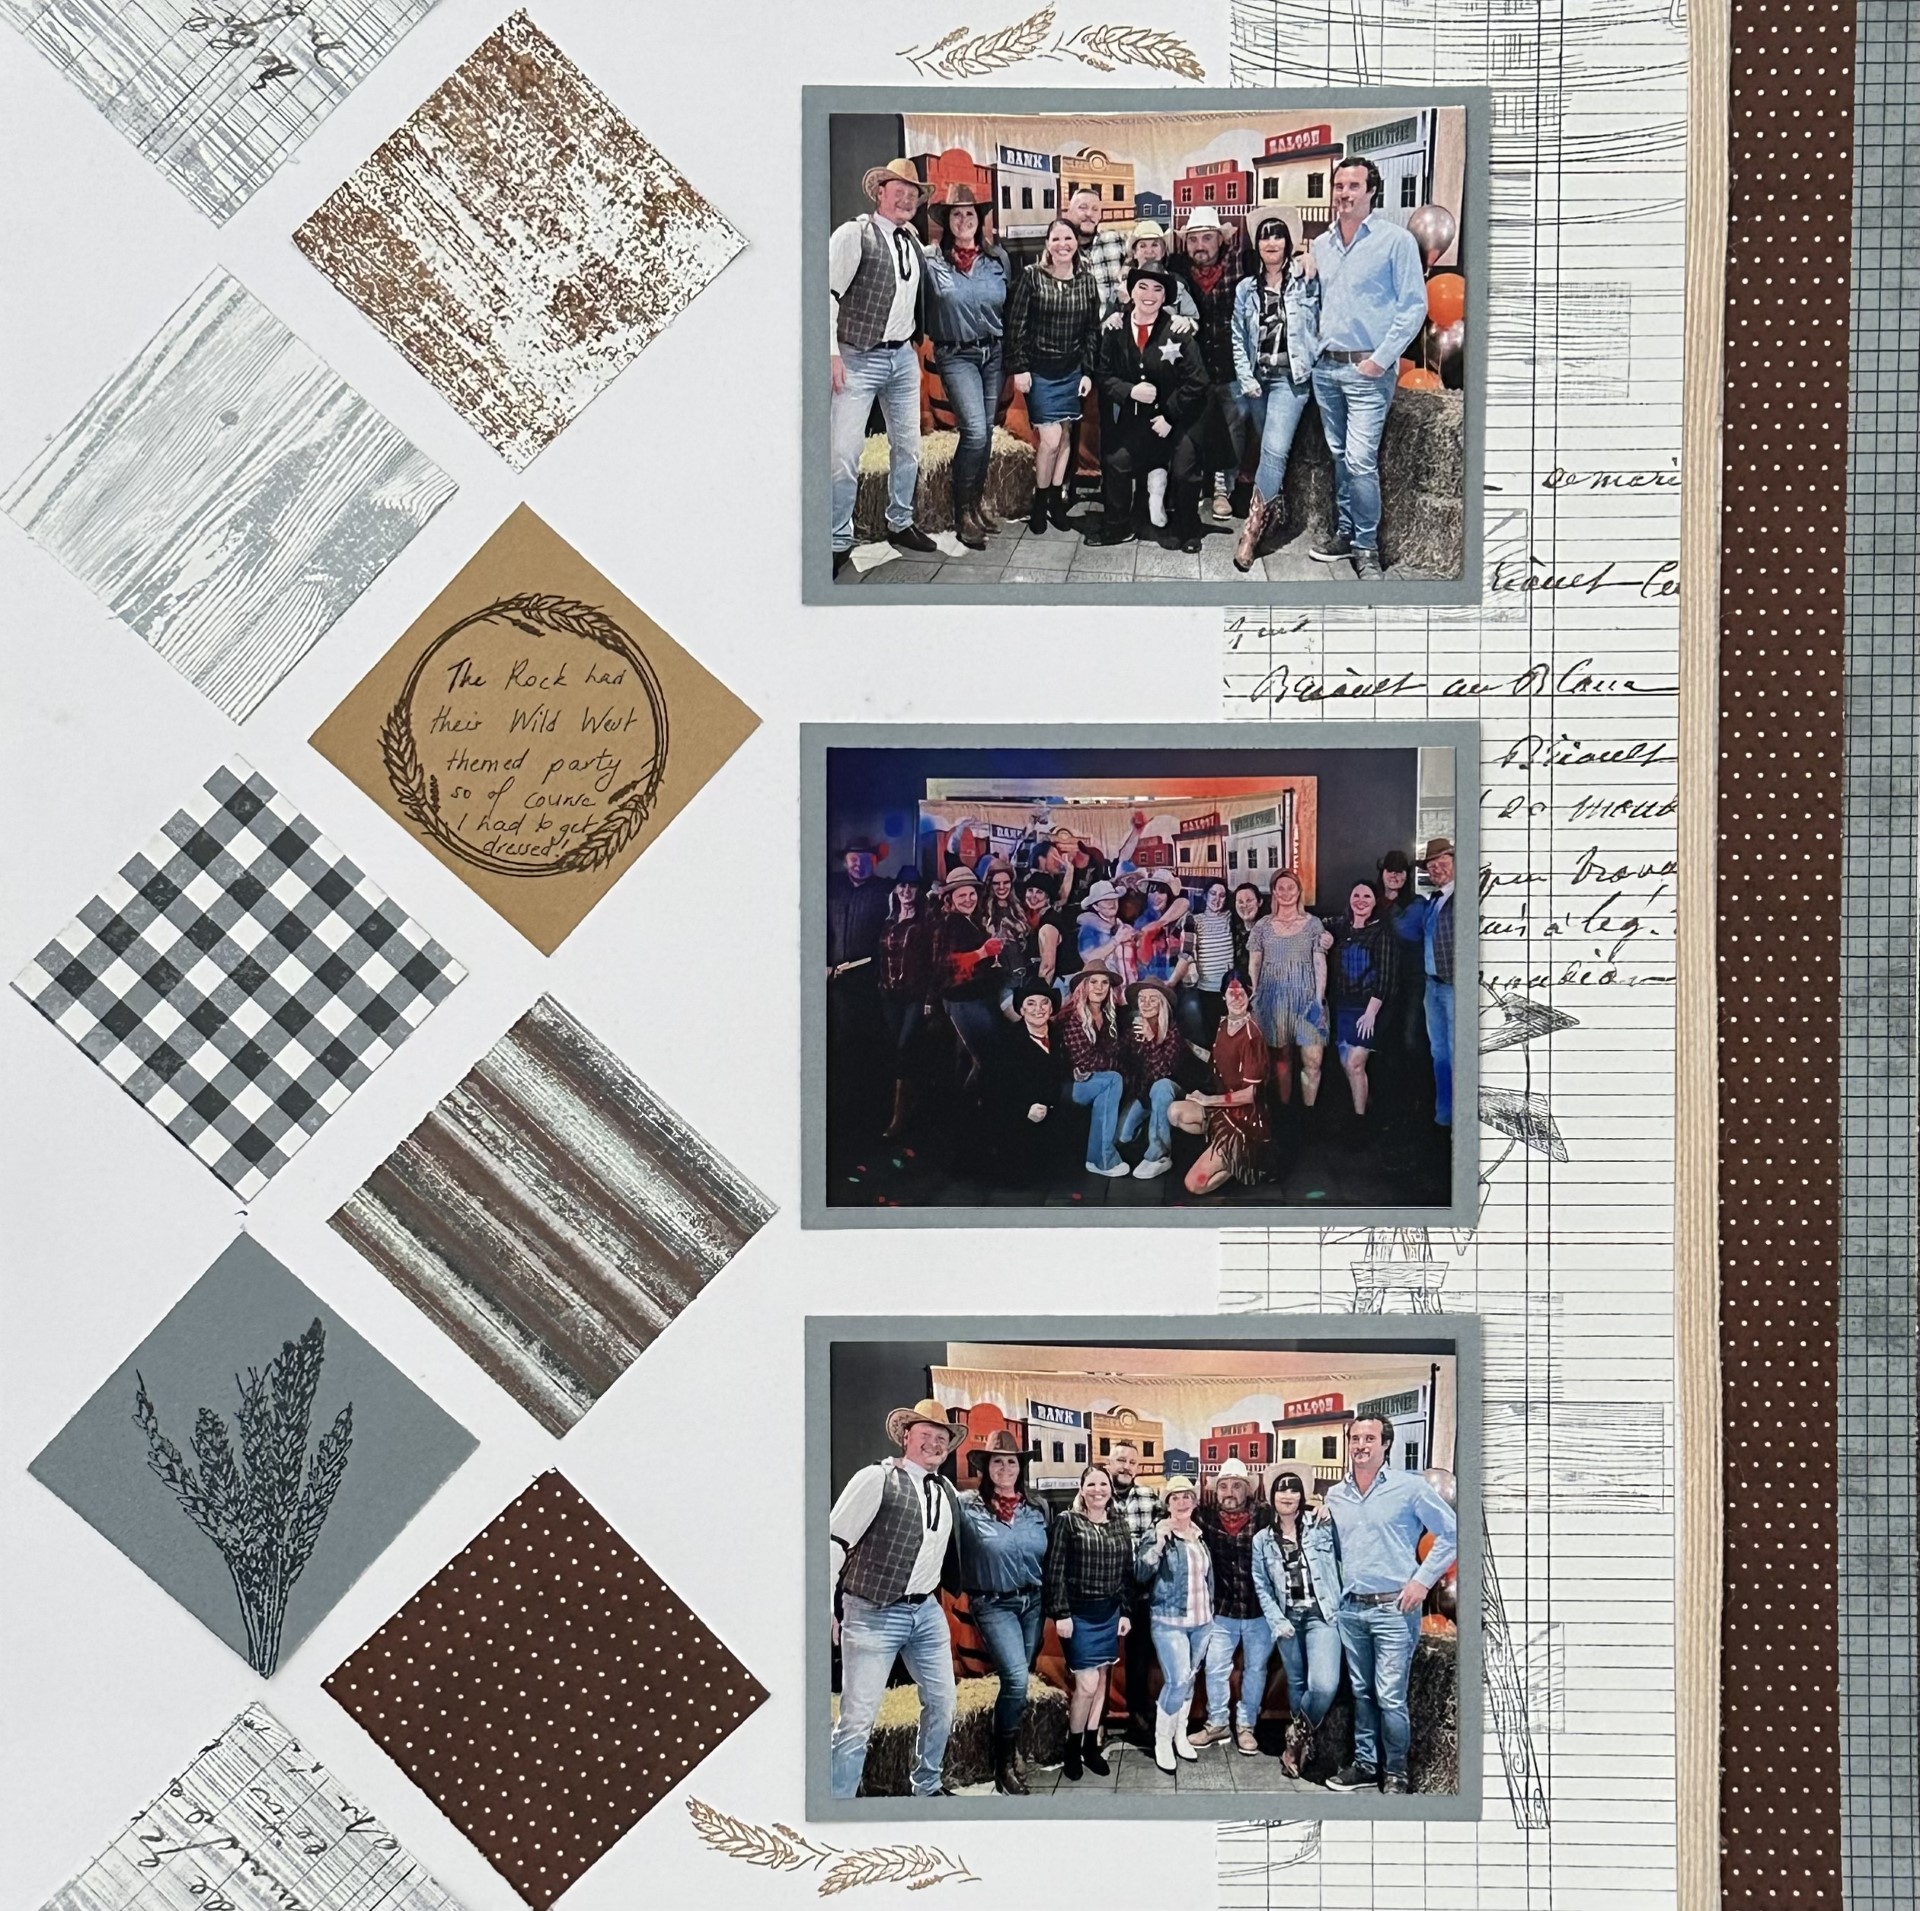
I have wanted to do this layout sketch for a while, and The Good Life papers were the perfect mix of patterns and colours for some group photos of a Wild West themed dress up party I went to. 


I cut the patterned papers at 2 inches and then added some stamped images to the Toffee and Mist cardstock with Mocha and Harbour ink, using the Harvest Blessings stamp set for some extra detail.

I'd love you to leave a comment before heading off to the next stop, Lynda Mowat.

Sunday, August 20, 2023

Memory Lane/Gnomes for Autumn Australasian Blog Hop


Hello and welcome aboard our August Specials Australasian Close to My Heart Blog Hop. 

If you have arrived here from Scrappy Chicks then you are in the right place. 

If you landed here by accident, no problem, please join in by following the link at the end of this post. 

Today I would like to share with you a creation which features one of Close To My Heart’s August Featured collections, A Gnome For All Seasons- Autumn.


I wanted to show that this paper can be used for projects other than Autumn themed layouts and cards, and so I scrapbooked my son's football team photo using the Paper Packet, as well as adding some of the stickers from the sticker sheet.


The papers really hold their own against the team photo, and mimic the stripes of the uniform as well as the green. 


I also used three different football stamp sets- Soccer with Heart, Buddies- Joey and the fun new Let's Play. The Let's Play stamp set also provided the stamped stars and titles. I used the stickers from the Gnomes For Autumn collection to add some banners at the top of the page, and a washi tape look.

The final touch was to add the team year in Almond cardstock using the Numbers Thin Cuts. 

I encourage you all to think outside the box when looking at papers like this- just because it specifies Autumn in the name, doesn't mean it can't be used for other projects!

If you do not have a consultant please contact me or place an order here.

I'd love you to leave a comment before heading off to the next stop, The Scrapbooking Photographer.

Thursday, August 10, 2023

Australasian Cosy Up Blog Hop


Hello and welcome aboard our Cosy Up Australasian Close to My Heart Blog Hop. 

If you have arrived here from Scrappy Chicks then you are in the right place. 

If you landed here by accident, no problem, please join in by following the link at the end of this post. 

Today I would like to share with you a creation which features Close To My Heart’s August Featured collection, Cosy Up. (Or Cozy Up if you're not in Australasia!)


I haven't had as much time as I would like to scrapbook, but I have been churning out some cards using my scraps and I have also been getting into using my Cricut again.

I started with my favourite Cosy Up Paper as the base of the card, and overlaid this with the Multi Square Windows Thin Cuts. I used the Cosy Up Coordinating Cardstock colours of Shortbread, Paprika, Toffee, Honey Butter and Rosemary to make this card, as well as some Gold Glitter Paper. 


The sentiment was stamped with Mocha Ink, and comes from the Cosy Up Cardmaking Workshop Kit.I also stamped one of the leaves using this kit, and stamped the leaf detail with Sage Ink on the Rosemary Cardstock. 


Here's a close up of the mushrooms, leaves and acorn I cut using the Cosy Up Digital Art Collection. I cut the top of the acorn from one of the Cosy Up papers, and sponged the dotted section of the mushrooms with Mocha Ink for more definition as they weren't dark enough for my liking when I cut them with Toffee cardstock. I then used the Gold Glitter Paper for the base of each mushroom because I can't have a card with no bling!  

I also added some extra bling using Gold Loose Sequins for the finishing touch, which I attached to the card with Micro Glue Dots.

If you do not have a consultant please contact me or place an order here.

I'd love you to leave a comment before heading off to the next stop, Creative Inspirations.

Tuesday, June 20, 2023

Australasian Silhouettes Blog Hop


Hello and welcome aboard our Silhouttes Australasian Close to My Heart Blog Hop. 

If you have arrived here from Scrappychicks then you are in the right place. 

If you landed here by accident, no problem, please join in by following the link at the end of this post. 

Today I would like to share with you a creation which features a silhouette stamp from the Rewards Your Way , called Rock On.


I am going to the Foo Fighters concert next year, so I wanted to make a layout in advance and be organised. 

I used Capri, Black and Shortbread as the main featured colours of this layout, accented with Black Glitter. I used the silhouette of the concert goers along the bottom of the page, stamping in both capri and Black, in order to create a border.


I used the fun Celebration stamp set for the title that reminds me of the silhouette theme as you stamp the shadow part first and then you can fill in the alphas with whichever colour you want. I accented the whole page with some of the Capri Shimmer Brush, which I splattered around the layout. 


I then used the Tag thin cuts to create a journal, adding another silhouette stamp as an accent.


I'd love you to leave a comment before heading off to the next stop, The Scrapbooking Photographer.


Monday, April 10, 2023

Australasian Cosette Blog Hop

 Hello and welcome aboard our Cosette Australasian Close to My Heart Blog Hop. 

If you have arrived here from Scissors Paper Heart then you are in the right place. 

If you landed here by accident, no problem, please join in by following the link at the end of this post. 

Today I would like to share with you a single page layout that features Close To My Heart’s April Featured collection, Cosette. 

I knew that I wanted to feature as many of the Cosette papers as possible, without distracting too much from the photos. I did some strips of the different papers in varying widths, and layered them on some French Vanilla cardstock along with the black floral Zip Strips. 

I matted the photos in Honey Butter cardstock, which is one of the colours in this collection and pairs beautifully with the Pine and Mist. You will see a cute watercolour strip next to the purple flower, which is from the Cosette sticker sheet. 


The yellow flower paper was quite stark right next to the French Vanilla cardstock, so I sponged some Toffee ink on the paper strips of this to provide some contrast. I also added a cute journal tab sticker from the Cosette sticker sheet. 

The Cosette die cuts are such a dream to work with- you can leave them plain but here I have sponged them with Toffee ink. The smaller one above was completely sponged with Mulberry ink and left to dry. I added some layered leaved stamped in Pine on Pine cardstock from the Cosette Cardmaking stamp set. The final touch was some of the Blue Belle Pearls in the centre of each flower and some scattered around the page as well. 

If you do not have a consultant please contact me or place an order here.

I'd love fopr you to leave a comment before you head off to see what Scrappychicks has created!

Monday, March 20, 2023

Australasian Down Under Blog Hop


Hello and welcome aboard our Down Under themed Australasian Close to My Heart Blog Hop. 

If you have arrived here from Scrappy Chicks then you are in the right place. 

If you landed here by accident, no problem, please join in by following the link at the end of this post. 

Today I would like to share with you a layout that features some fun travel themed items from Close To My Heart, perfect for travelling around Australia and New Zealand.

I wanted to create a layout for visiting my friend up in the North Island, and so I used up the scraps from my Are We There Yet? collection to create this single page scrapbook layout.


One of my favourite collections, this has some great paper patterns and so I used the scraps of these to create a fun layered mat behind one of the photos, using tearing as a way to add texture. I then stamped the New Zealand title directly over top of these.


The map of New Zealand is from the Map Your Journey- New Zealand stamp set and I pinpointed where I had travelled by paper piecing the region on the stamp set and adding the cute pin sticker from the Are We There Yet? Sticker Sheet. You will notice I also added more tearing and layering to make the most of every last piece of paper I had! I also made my own zip strip using the camera icon from the stamp set. 


These map stamp sets also have a variant for Australia as well as the USA and Canada, perfect for a trip down under of further abroad!

I'd love you to leave a comment before heading off to the next stop, The Scrapbooking Photographer.


Monday, February 20, 2023

Australasian Borders Blog Hop


Hello and welcome aboard our Borders Australasian Close to My Heart Blog Hop. 

If you have arrived here from Scrappy Chicks then you are in the right place. 

If you landed here by accident, no problem, please join in by following the link at the end of this post. 

Today I would like to share with you a creation which features Close To My Heart’s February Stamp of the Month, Springtime Borders.

I was really inspired by this sketch that was featured on the Close To My heart blog last week, and this formed the basis of my layout.

I used the Four Seasons Spring paper packet and cardstock for this layout, since Easter and spring are just around the corner! 


I used the border stamp set on both sides of my layout, and the left hand side features the stamp both as a single image around the journal sticker and the tone on tone stamped cardstock strip.
 

I also used this adorable stamp set, called Sweet Easter, to add an additional touch with the bunny rabbit.

On the right hand side, I added another border strip as well as my title and some of the cute White Acrylic Hearts.

Here is a close up of the border strip I made using Avocado cardstock and Avocado ink. I layered two of the stamps on top of each other to create a larger border. 


I also got inspired by the catalogue images, and made this card using the heart and umbrella borders as a tone on tone background on my dovetailed pennants, then adding the lamb from the Sweet Ester stamp set. 

If you do not have a consultant please contact me or place an order here.

I'd love you to leave a comment before heading off to the next stop, aMAZing Creations.

Friday, February 10, 2023

Australasian Storybook Blog Hop


Hello and welcome aboard our Storybook Australasian Close to My Heart Blog Hop. 

If you have arrived here from Scrappy Chicks then you are in the right place. 

If you landed here by accident, no problem, please join in by following the link at the end of this post. 

Today I would like to share with you a creation which features Close To My Heart’s February Featured collection, Storybook. 

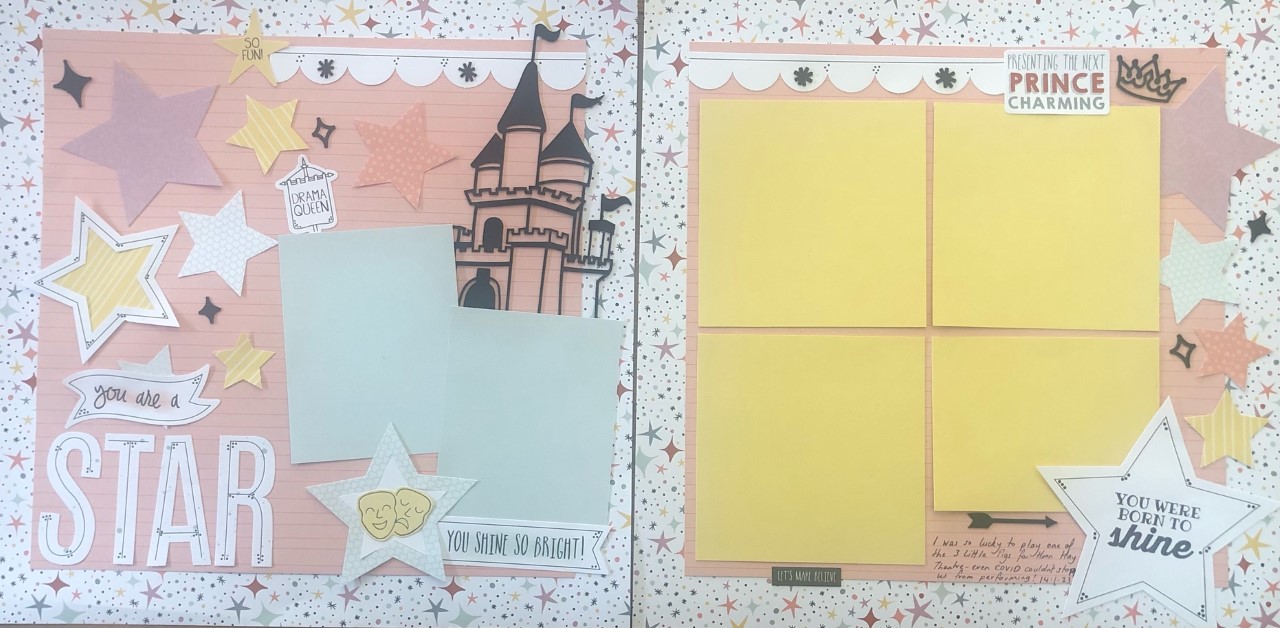
I was recently in a Fairy Tale show featuring Prince Charming, the 3 Little Pigs, The Big Bad Wolf and all other sorts of fairytale creatures, so of course I had to make a layout to showcase the photos!

Let's have a look at the left hand page a bit more closely. 


I used the elements from the Storybook Scrapbooking Workshop Kit, mixing the stars from Project 3 with the layout design of Project 2 to create my own page. The title and papers were just perfect to show me acting on stage!

How amazing is this castle? The black accents are from the Storybook Die Cuts and are just stunning in person. You can also see some of the smaller die cuts on my layout. The drama queen sticker from the Storybook Paper Packet and Sticker Sheet was also perfect!

The right hand side will prove a background for more photos of the performance- I am so annoyed that I can't show them to you yet but I am waiting on the professional ones. 

The Prince Charming sticker and die cut crown will be perfect next to the photo of our very own Prince Charming, one of the stars of the show. 


The drama masks on the left hand side as well as this title that I stamped in the star, are from the Star of the Show Stamp Set, which obviously I needed in my stamp collection. 

Here's a little sneak peek of the show, written up by the newspaper!

This exclusive Storybook collection is only available for the next two months- if you love it then grab it quickly as things are selling out so fast this quarter!

If you do not have a consultant please contact me or place an order here.

I'd love you to leave a comment before heading off to the next stop, Maz Wood.


Friday, January 20, 2023

Australasian Love Is All You Need Blog Hop

 Hello and welcome aboard our Australasian Close to My Heart Blog Hop, where this month's theme is Love Is All You Need.

If you have arrived here from Scrappy Chicks then you are in the right place. 

If you landed here by accident, no problem, please join in by following the link at the end of this post. 

Today I would like to share with youa  love themed layout featuring Close To My Heart’s current special, Now and Forever.


My favourite paper in this collection is the red hearts, and so I knew I wanted this to be the background of my layout. I always love the combination of pink and red, and the addition of the mint green Seabrook colour really helps to make this collection so dreamy. 

Once I had my background, it was easy enough to create a focal point around one 6x4 photo.


I used the Hearts Slimline Thin Cuts to cut this background piece using Ballerina cardstock- this Thin Cut is designed for use with our Slimline Cards but I also love adding it to scrapbook layouts.


I used the Seabrook cardstock to cut the title using a retired thin cut set, which also had the stamped wording, which I stamped in Desert Rose Ink. I added some interest by using the Seabrook Shimmer Brush underneath the title. I also added some embellishments using some Julep Glitter Gems and the Now and Forever Embroidered Embellishments, which are gorgeously detailed threaded florals and butterflies with an adhesive backing.


I double matted the photo using both the Now and Forever Cardstock as well as some of the patterned paper from the Now and Forever Paper Packet. And look at the detail on the embroidered butterfly!

This exclusive collection is only available until the 28th February, or while stocks last.

If you do not have a consultant please contact me or place an order here. 

I'd love you to leave a comment before heading off to the next stop, aMAZing Creations.