Showing posts with label Christmas. Show all posts

Thursday, November 19, 2020

November/December Catalog New Product Blog Hop

Welcome to our New Product Blog Hop!  We will be featuring all of the amazing new products from the November and December Catalogue. 

If you have come here from Melinda’s Blog, you are on the right path! The blog hop is a great big circle, so you can start here and work your way all around.  If you get lost along the way, you’ll find the complete list of participating consultants on Melinda’s Blog


This month we have 19 Close To My Heart Consultants sharing their creations using great CTMH products on their blogs. This is simple to do - just click on the link at the end of the post on each blog to move to the next one! Here we go!

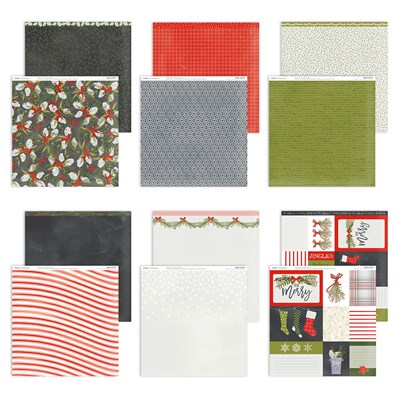
I love the bright, fun look of the Jingle Joy collection, and decided to show some of the products within this collection paired with the Mix In Paper. Here is the full two page layout, but let's also have a closer look at some of the details.


The left hand side features the cute tree printed paper from the Mix In, which pairs perfectly with the Jingle Joy colours.


I used one of the Jingle Joy PML cards as a focal point and added some cute little presents from the Jingle Joy Cardmaking Stamp Set and Thin Cuts in Raspberry and Clover ink.


The left hand side also features some more of the wonderful Mix In Paper Packet, the PML cards and the cardmaking stamp set. 


I love the the PML cards come with journal boxes, which make it easy to write down all your memories and stories. I also added Santa in his sleigh from the Cardmaking stamp set, stamped in Black ink to give the look of a silhouette. 


The title on this page came from the Jingle Joy Scrapbooking stamp set and Thin Cuts, which I stamped in Evergreen ink.


You can see I also added a strip of Raspberry Cardstock and I also cut the striped zip strip in half to add more patterns and colour to the page. 

These pages are meant to work together as a double page spread, but could be easily used as two single page layouts too!

Now "Hop" on over to Gina's Blog to see her work! Be sure to visit all the Consultants at their Blogs to get some great crafting ideas and other fun ideas! 

Tuesday, January 21, 2020

Dressed up for Christmas Day

Image may contain: text

I love the theme for this week's Heart 2 Heart challenge- All Spruced Up!

I know we have the new Spruced Up collection but when I read this prompt I thought about everybody being spruced up, or dressed up. We were recently all dressed up for Christmas Day and so I am sharing a layout based on our Christmas Day attire.

My twin sister and I both turned up in red dresses for Christmas Day, and the colour of our dresses was so similar to Candy Apple and the beautiful Cedar and Pine paper packet so I used these papers and colours for the double page layout.


The left hand side of the page also features a photo of my books looking fancy, as well as a title stamp and some of the Cedar and Pine stickers.


Even my Dad and partner colour coordinated perfectly- this was such a wonderful opportunity to get some nice family photos!


We would love to see your "All Spruced Up' projects over at Heart 2 Heart challenges!


Sunday, December 1, 2019

S1912 Reindeer Crossing Australasian SOTM Blog Hop


Hello and welcome aboard our December SOTM Australasian Close to My Heart Blog Hop.

If you have arrived here from Danielle then you are in the right place.

If you landed here by accident, no problem, please join in by following the link at the end of this post.

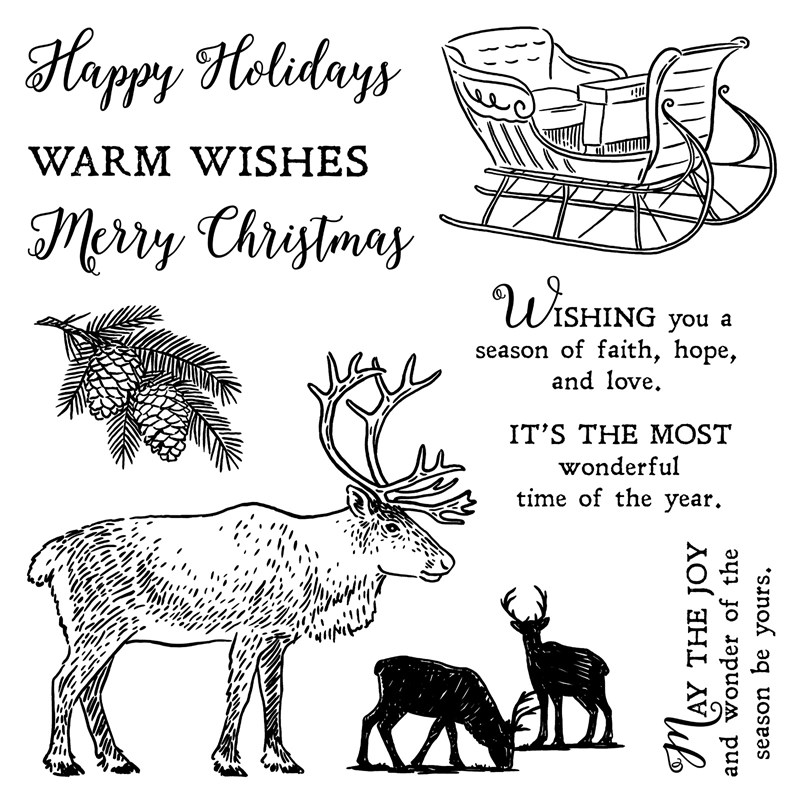
Today I would like to share with you a creation which features Close To My Heart’s December Stamp of the Month, Reindeer Crossing.

Reindeer Crossing—December Stamp of the Month


This set is so perfect for Christmas cards, but I knew I wanted to create a layout using this lovely stamp set. I put my thinking cap on, browsed Pinterest for some inspiration, and came up with this.

This layout can be used for Santa photos, making reindeer food, the Santa Parade- I haven't quite decided yet but I know it will be used for something related to the wonder of Christmas!


I used the Mix In Paper Packet for most of this layout, with the plaid circle from the Cedar and Pine Paper Packet. I accented the layout with the Cedar and Pine stickers as well as the cute bows that come in the kit.


I stamped the reindeer on Kraft cardstock with toffee ink, and added one of the Holly Jolly Dots to make him into Rudolph.


I also stamped the sleigh from this stamp set onto the Kraft patterned paper. The Believe title is from the Cedar and Pine stickers, and the rest of the title is stamped in black ink.

This exclusive stamp set is only available during December- so be in quick and contact your consultant to place an order! If you do not have a consultant please contact me or place an order here.

I'd love you to leave a comment before heading off to the next stop, Doris.

Wednesday, November 6, 2019

New Product Blog Hop


Welcome to our New Product Blog Hop!  We will be featuring products from the new November-December Idea Book.

If you have come here from Becca’s Blog, you are on the right path! The blog hop is a great big circle, so you can start here and work your way all around.  If you get lost along the way, you’ll find the complete list of participating consultants on Melinda’s Blog.

This month we have 21 Close To My Heart Consultants sharing their creations using the new CTMH products on their blogs. This is simple to do - just click on the link at the end of the post on each blog to move to the next one! Here we go!

I decided to create a cute Christmas layout using the adorable Holly Jolly collection- I used a combination of the stamp sets, embellishments, papers and Picture My Life cards.

The layout was created on Peach cardstock, and then I added some of the Holly Jolly Paper Packet and Coordinating Cardstock as the base design.


I created an ombre title using Candy Apple ink, and then added a stamped holly embellishment from the Holly Jolly Scrapbooking stamp set. The smaller sentiment is the only non-Holly Jolly item but is also a new product- it is from the Cedar and Pine Cardmaking stamp set. I created some dimension by using the Holly Jolly Dots for the red berries and also on the elf hat. Isn't the elf cute? He's from the Holly Jolly Cardmaking Workshop Kit.


The photos are broken up by a Holly Jolly Picture My Life card, which coordinates with the present border I made using the Holly Jolly Cardmaking stamp set.


With this adorable range of Christmas products, I'm definitely Holly Jolly about Christmas!

Now "Hop" on over to Miss Carrie's Creations Blog to see her work! Be sure to visit all the Consultants at their Blogs to get some great crafting ideas and other fun ideas!

Sunday, December 2, 2018

December SOTM Blog Hop - Candy Cane Alphabet


Welcome to our December Blog Hop!  If you came here from Melissa's blog, you're on the right track, and as this blog hop is a big circle I hope you'll enjoy browsing all the ideas we have for you today.

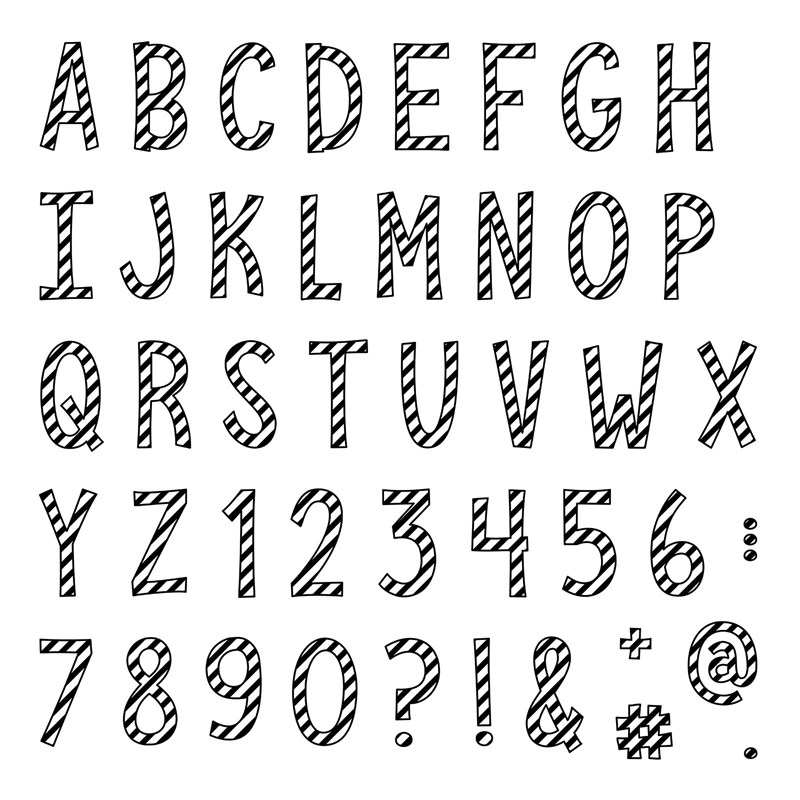
We will be featuring December's Stamp of the Month, which is this adorable Candy Cane Alphabet.


This December will be the third year that our Elf on the Shelf makes his appearance, but I have only just got round to finishing off our 2016 Christmas album, which is when he arrived. I wanted to do a layout explaining the Elf on the Shelf just in case he gets to visit multiple generations (I'm a plan ahead scrapbooker)!

The cheeky side of the Elf on the Shelf meant that I wanted to use our Oh What Fun paper range for that festive and fun look. The bright blues and greens work well with the story of Ralph, and I used the matching scrapbook stamp set to stamp the Oh What Fun bubble.


I stamped the title in Lagoon ink using the Stamp of the Month- even though it is not a traditional Christmas colour is still has a Christmas vibe to it because of the candy cane stripes.


Now "Hop" on over to Darlys' Blog to see her work. Be sure to visit all the Consultants at their Blogs to get some great crafting ideas and other fun ideas!

Saturday, December 1, 2018

S1812 Candy Cane Alphabet CTMH Australasian Stamp of the Month Blog Hop


Hello and welcome aboard our Stamp of the Month Australasian Close to My Heart Blog Hop.

If you have arrived here from Vandra then you are in the right place.

If you landed here by accident, no problem, please join in by following the link at the end of this post.

Today I would like to share with you a creation which features Close To My Heart’s December Stamp of the Month, Candy Cane Alphabet.


I'm already well into Christmas prep mode and so I thought this set would be fun to add to my gift tags.

I cut my tags on the Cricut and stamped them in second generation ink using Clover and Candy Apple. The backgrounds are from the Snug Backgrounds stamp set. I didn't worry too much about getting them perfect as I quite like the rustic look!


I then used the Candy Cane Alphabet to stamp on some festive quotes in the same colour.


I quickly added some ribbon to each tag and now they are ready to go! I plan on using these on the end of year teacher gifts and having my boys write a message on the back of them, but you could just as easily use them for any other type of present.


Which tag combination is your favourite?

This exclusive stamp set is only available during December. Contact your CTMH consultant to place an order.

I'd love you to leave a comment before heading off to the next stop, Doreen Watkins.

Sunday, November 18, 2018

Featured Paper Blog Hop-’Tis the Season

Welcome to our Featured Paper Blog Hop! We will be showcasing items from our ‘Tis the Season Paper Pack with various projects created by talented Close to my Heart Consultants. If you are visiting from Ramona’s blog then you are on the right track, if not please start at the beginning with our hostess Carol.

I absolutely loved the Deluxe 'Tis The Season WYW when I first saw it, but I was worried that the layouts would be too wintery since I live in New Zealand where we have our Christmas in summer.

This layout in particular I was drawn to, and I decided to change up some of the elements whilst still keeping the overall feel of the layout.


I swapped out the snowflake paper for another great pattern within the kit, used New England Ivy cardstock instead of Candy Apple, and changed the snowflake embellishments for ornaments. All of these items I switched to are still in the kit so I was not using any additional supplies.


I still kept all of the parts of the layout I was originally attracted to, such as the stamping, the title, the numbered photos and journal boxes.


Swapping out the snowflakes for the ornaments included in the Complements was an easy switch and added some bling to my page!


Switching out a paper or embellishments is a great way to get something extra out of any WYW kit and I hope that this will inspire some of you to recreate previous layouts with new paper and embellishment combinations.

Next check out Erica’s blog and I'd love for you to leave me a comment!

Thursday, November 15, 2018

‘Tis the Season CTMH Australasian Blog Hop


Hello and welcome aboard our November Australasian Close to My Heart Blog Hop. If you have arrived here from Kara then you are in the right place.

If you landed here by accident, no problem, please join in by following the link at the end of this post.

product image

Today I would like to share with you a creation which features Close To My Heart’s November Featured Paper Packet, 'Tis The Season.

This Christmas themed paper packet is great for scrapbooking my Christmas photos, and I saw the bold sentiment from the matching Complements and knew I had to use a photo from Christmas Day last year where my boys were wearing their new sunglasses.


I added some of the Complement stars and used a sticker to add the date to my layout. The Christmas memories was stamped and fussy cut. I also stamped some stars for extra detail. (Notice I'm wearing one of the old CTMH Base and Bling necklaces!)


I used some of the Gold glitter paper to look like a gift wrap bow, and added a Poinsettia I cut from the Season of Joy Cricut cartridge. I used the light and dark sides of the Candy Apple cardstock plus a base layer of Ruby to get the different shades. I added some white gems in the middle for dimension.


I'd love you to leave a comment before heading off to the next stop, Doreen's Blog.

Products used:
Cardstock: Candy Apple, RubyWhite Daisy
Cricut cartridge: Season of Joy
Embellishments: Black and White Dots'Tis The Season Complements
Ink: New England Ivy
Paper Packets: Gold Glitter Paper'Tis The Season
Stamp set: Christmas Countdown

Wednesday, October 17, 2018

Holiday Sparkle/Seasons of Joy Blog Hop


Welcome to our October Blog Hop!  We will be featuring two of the new products- either the Holiday Sparkle special or the new Season of Joy Cricut cartridge, so you are sure to get a lot of ideas today! If you get lost at any time please head on over to Melinda's Blog to get back on track.

For my project, I decided to do a scrapbook layout. The Season of Joy Cricut cartridge has some wonderful 3D projects but I really wanted to use the elf title for a Midwinter Christmas party I attended.

I kept the background colour simple (Linen cardstock) and let the photos and the strip of patterned paper take the centre focal point.

I added two cuts from the cartridge- the Christmas lights border at the top and the adorable elf title.


The sub-title and the ugly sweater are from a new stamp set called Ugly Sweater- perfect for this layout too.


As a side note- my sweater was called the "Lauren Elf Sweater" so I had to have it!

Now "Hop" on over to Chris Robertson's Blog to see her work. Be sure to visit all the Consultants at their Blogs to get some great crafting ideas and other fun ideas!

I am also linking this page up to the Heart 2 Heart new product challenge.


Monday, October 16, 2017

Baby It's Cold Outside

This week's prompt for Heart 2 Heart challenges was the inspiration I needed to start using the October SOTM, Christmas Tunes.


The snowglobe was the perfect image I needed to start working on my snow pages- being in the southern hemisphere means we had our snow in in July so I am a bit behind!

I used some old CTMH snow themed paper paired with Colonial White cardstock as the base of my layout, then jazzed it up with some of the newer items I have on hand.


I stamped the snowglobe image from the October SOTM in Glacier ink, and then added some clear shimmer to the bottom of the globe and the word cold.


The white burlap ribbon made a perfect border for my photos, and I added an extra bow embellishment as well as some Blue Enamel Dots.


I also stamped a border across the top of the page using the new Christmas Borders stamp set.


If you have an Under The Weather themed project, we'd love for you to link up with us at Heart 2 Heart Challenges!

Thursday, December 15, 2016

Oh Deer! CTMH Australasian Blog Hop


Hello and welcome aboard our Oh Deer! Australasian Close to My Heart Blog Hop.

If you have arrived here from Doris then you are in the right place.

If you landed here by accident, no problem, please join in by following the link at the end of this post.

Today I would like to share with you a creation which features Close To My Heart’s December Featured Collection, Oh Deer!


I love the soft colours of this paper packet, especially the mix of Sea Glass, Cranberry and Kraft.

I have created a starry layout for this year's Santa photo- Santa had a space themed grotto and so the boys loved it!

I used the polka dot paper as a background, adding a strip of Sea Glass cardstock to the side of the page and coordinating with Bamboo and Cranberry cardstock. I used one of the Oh Deer! PML cards to create the title.


I used some of the red stickers from the Oh Deer! Complements to carry the red theme, and this bow was the perfect topper for the present I cut using Kraft cardstock and the Gift Thin Cuts.


I added some interest the the bottom right side of the photo mat by adding a sticker and die cut from the Oh Deer! Complements as well as some Red Shimmer Trim beside the photo mat. I also created a diagonal cluster using some Cranberry stars cut on my Cricut and the Red Enamel Gems.


I created a Christmas tree at the top left corner by using a red star and the triangle from the Oh Deer! Complements, and adding a trunk cut from Kraft cardstock. I also added a red star sticker to the 'i' in 'Magical'.


The result is this starry Santa layout with pops of red!


This exclusive collection is only available until the end of this month. This Workshop Your Way collection can be yours for just $46NZD.  Individual components can be ordered from your CTMH consultant.

I'd love you to leave a comment before heading off to the next stop, Passionate About Pages.